Ingredients
Equipment
Method
Browning the Butter and Melting Marshmallows
- In a medium pan over medium-low heat, melt 3 tablespoons of salted sweet cream butter. Continue cooking, stirring occasionally, until the butter turns a rich amber color and develops a distinct nutty aroma. Watch closely to prevent burning.
- Immediately reduce the heat to low. Add 3 cups of mini marshmallows to the pan. Stir continuously until the marshmallows are completely melted and smooth. Ensure low heat to prevent treats from becoming hard and brittle.
Coloring and Mixing the Cereal
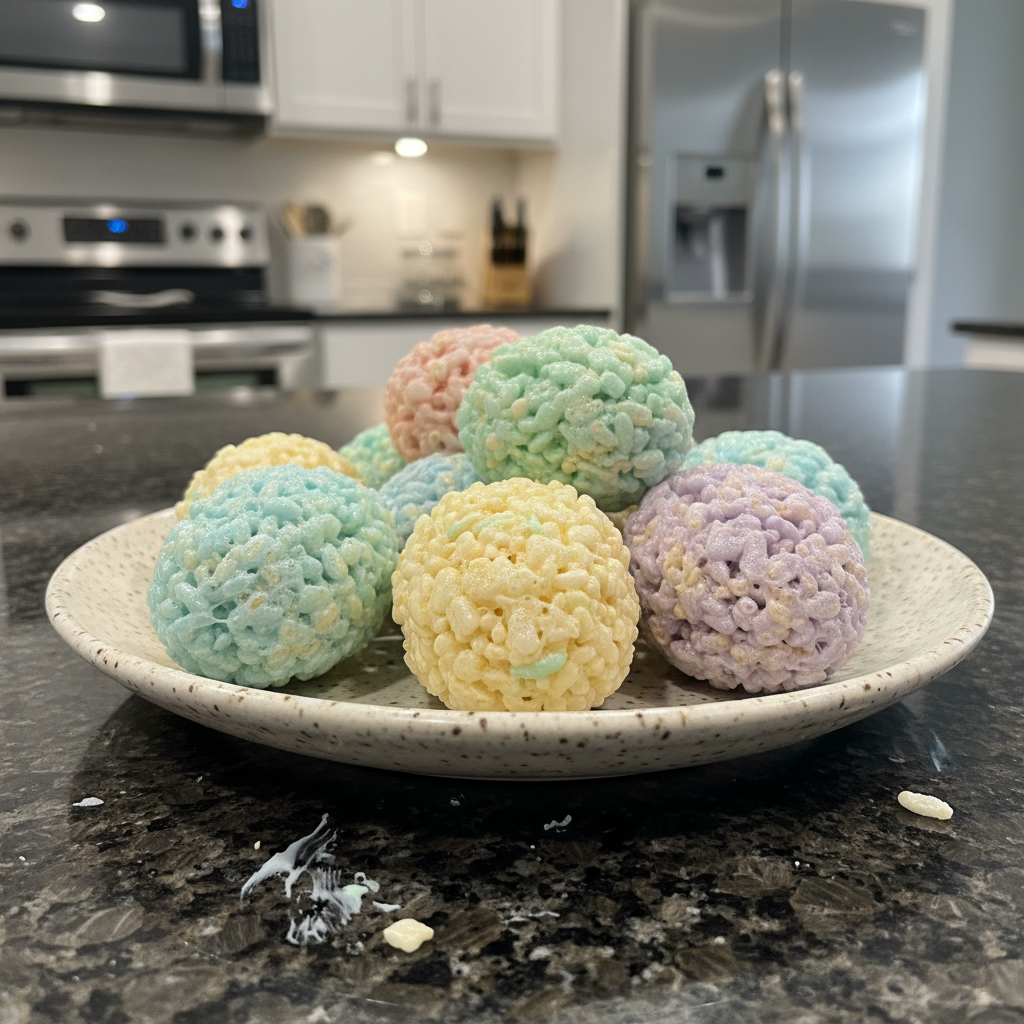
- Remove the pan from heat as soon as the marshmallows are melted. Add a few drops of Wilton Color Right gel food coloring and mix thoroughly into the melted marshmallow mixture until evenly distributed.
- Add 3 cups of Rice Krispies Cereal to the colored marshmallow mixture. Stir until every piece of cereal is completely covered with the glossy, colorful marshmallow mixture.
Cooling and Hand-Shaping the Eggs
- Allow the Rice Krispie mixture to cool slightly until it's comfortable to handle but still warm and malleable. If it cools too much, it will become brittle.
- Lightly coat your hands with butter or cooking spray to prevent stickiness. Grab about 0.5 ounces of the mixture and gently but firmly form it into an Easter egg shape. Work quickly while the mixture is warm.
- Place the shaped Rice Krispie eggs on parchment paper or a greased baking sheet to cool completely and set.
Repeating for Multiple Colors
- Repeat the entire process (browning butter, melting marshmallows, coloring, mixing cereal, shaping) for the other four Easter egg colors you wish to create. Work in small batches to ensure vibrant colors and perfect shaping.
Mastering the Mold: Shaping Perfect Rice Krispies Easter Eggs
- Choose hinged plastic Easter eggs or silicone molds. Lightly grease the inside of your molds and your hands with butter or cooking spray to prevent stickiness.
- Take about 0.5 ounces of the warm, malleable Rice Krispie mixture and press it firmly but gently into one half of a plastic egg mold. Fill both halves in this manner.
- Carefully press both filled halves of the mold together, applying gentle, even pressure to ensure the mixture adheres and forms a seamless egg shape. The warmth will help them fuse.
- Allow the molded egg to sit in the mold for 1-2 minutes to cool slightly and firm up. Then, carefully open the mold and gently remove your perfectly shaped Rice Krispies Easter egg. Handle with care.
Nutrition
Notes
For even color distribution, always add food coloring to the melted marshmallow mixture before incorporating the Rice Krispies cereal. Use a small kitchen scale (approximately 0.5 ounces or 14 grams per egg) for consistent sizing. Prevent stickiness by lightly rubbing your fingers with butter or cooking spray. Work quickly while the mixture is still warm and malleable. Store treats in an airtight container at room temperature for up to 3 days; avoid refrigeration. You can make them 1-2 days ahead. To freeze, wrap individually in plastic wrap, then place in a freezer-safe container for up to 6 weeks; thaw at room temperature. To prevent hard treats, melt marshmallows over low heat and avoid overmixing.
Nutrition information is estimated based on common ingredients and serving sizes and may vary.